Software Guide
Creating a Sequence
To display the sequencers controls
Before creating a sequence you need to load an image into the application. If you have not yet loaded an image please see Loading an Image before continuing.
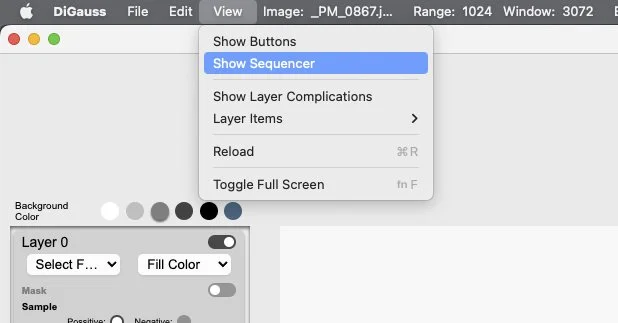
Show the sequencer by navigating the below path.
Enable Navigate to Menu Bar > View > Show Sequencer.
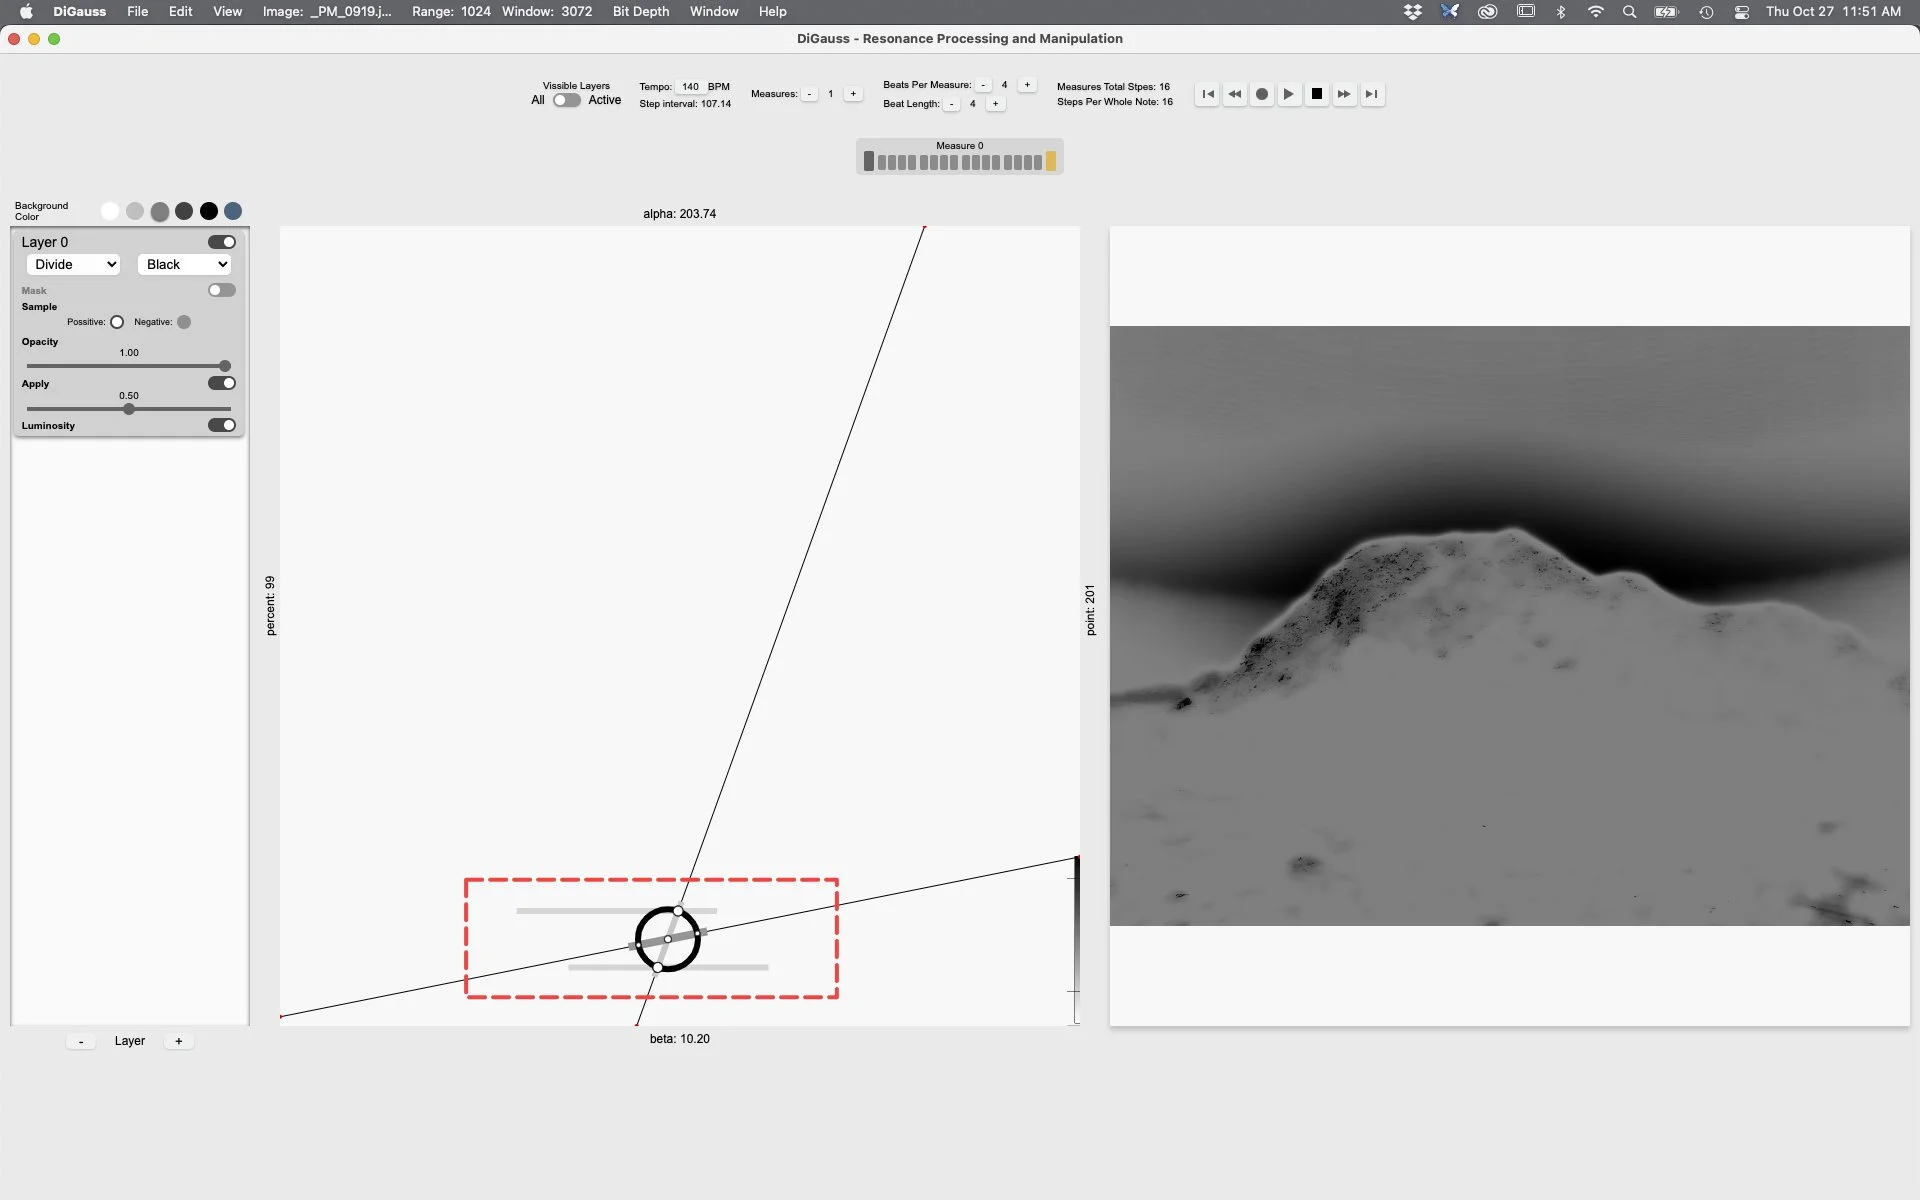
Click the Measures [ + ] button to create the first measure sequence associated with the active layer in the layer window.
To update the starting point or end point values double click the larger darker colored rectangles at the beginning and end of the measure.
Note: The first new measures starting point will default to the active layers Frequency Selection Windows values.
It’s best to create one measure at a time.
Any new measure created after the first one will refer to the previous measures end point values.
For smooth transitions between measures. Set the measure’s end point values before creating a new measure.
Double clicking the measure’s start or end points, large rectangles on either side, will change that rectangles color to yellow. Indicating to the user that the sequencer values at that position are ready to be updated.
Click and drag one of the Frequency Selection Windows points to a new position. Release the mouse and that position will be saved.
To see the sequence animation. Click the play button.
While playing the sequence animation. The active step will be indicated by the steps green rectangle.
To stop the animation. Click the stop button.
By default, all the steps in a newly created measure are actively indicated by the smaller rectangles grey color.
To prevent the animation at a specific step in the measure click on that step and its color will change to white. When the sequence is played the green step (active step position indicator) will skip over any inactive (white) step.


