Software Guide
Loading an Image
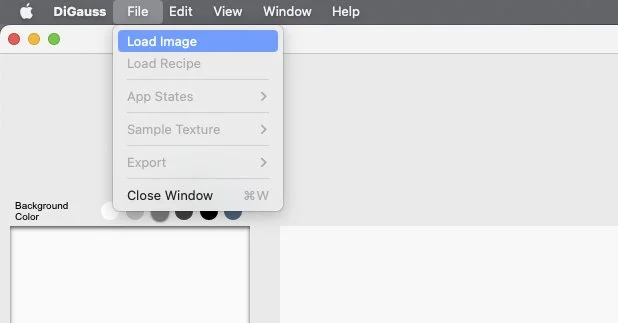
Within the menu bar located in the upper left part of the screen.
Enable Navigate to MenuBar > File > Load Image.
From here you will need to have an image you would like to work with.
Locate and select the image you’d like to use and click Open
Once the image is loaded the application will automatically create a new layer in the Layer Window and frequency UI in the Frequency Selection Window.
Layer Group Tile
The new layer’s name defaults to “Layer 0”. To rename the layer double click the layers name and a dialogue will open that allows the user to rename the layer.
The switch to the right of the layers name controls the layers visible state. By default, all new layers start as visible.
Enable filtered layer
Located in the Layer Window. Click Layer 0’s > Select From dropdown. Choose one of the following. If you are new to the app, it’s best to choose Divide.
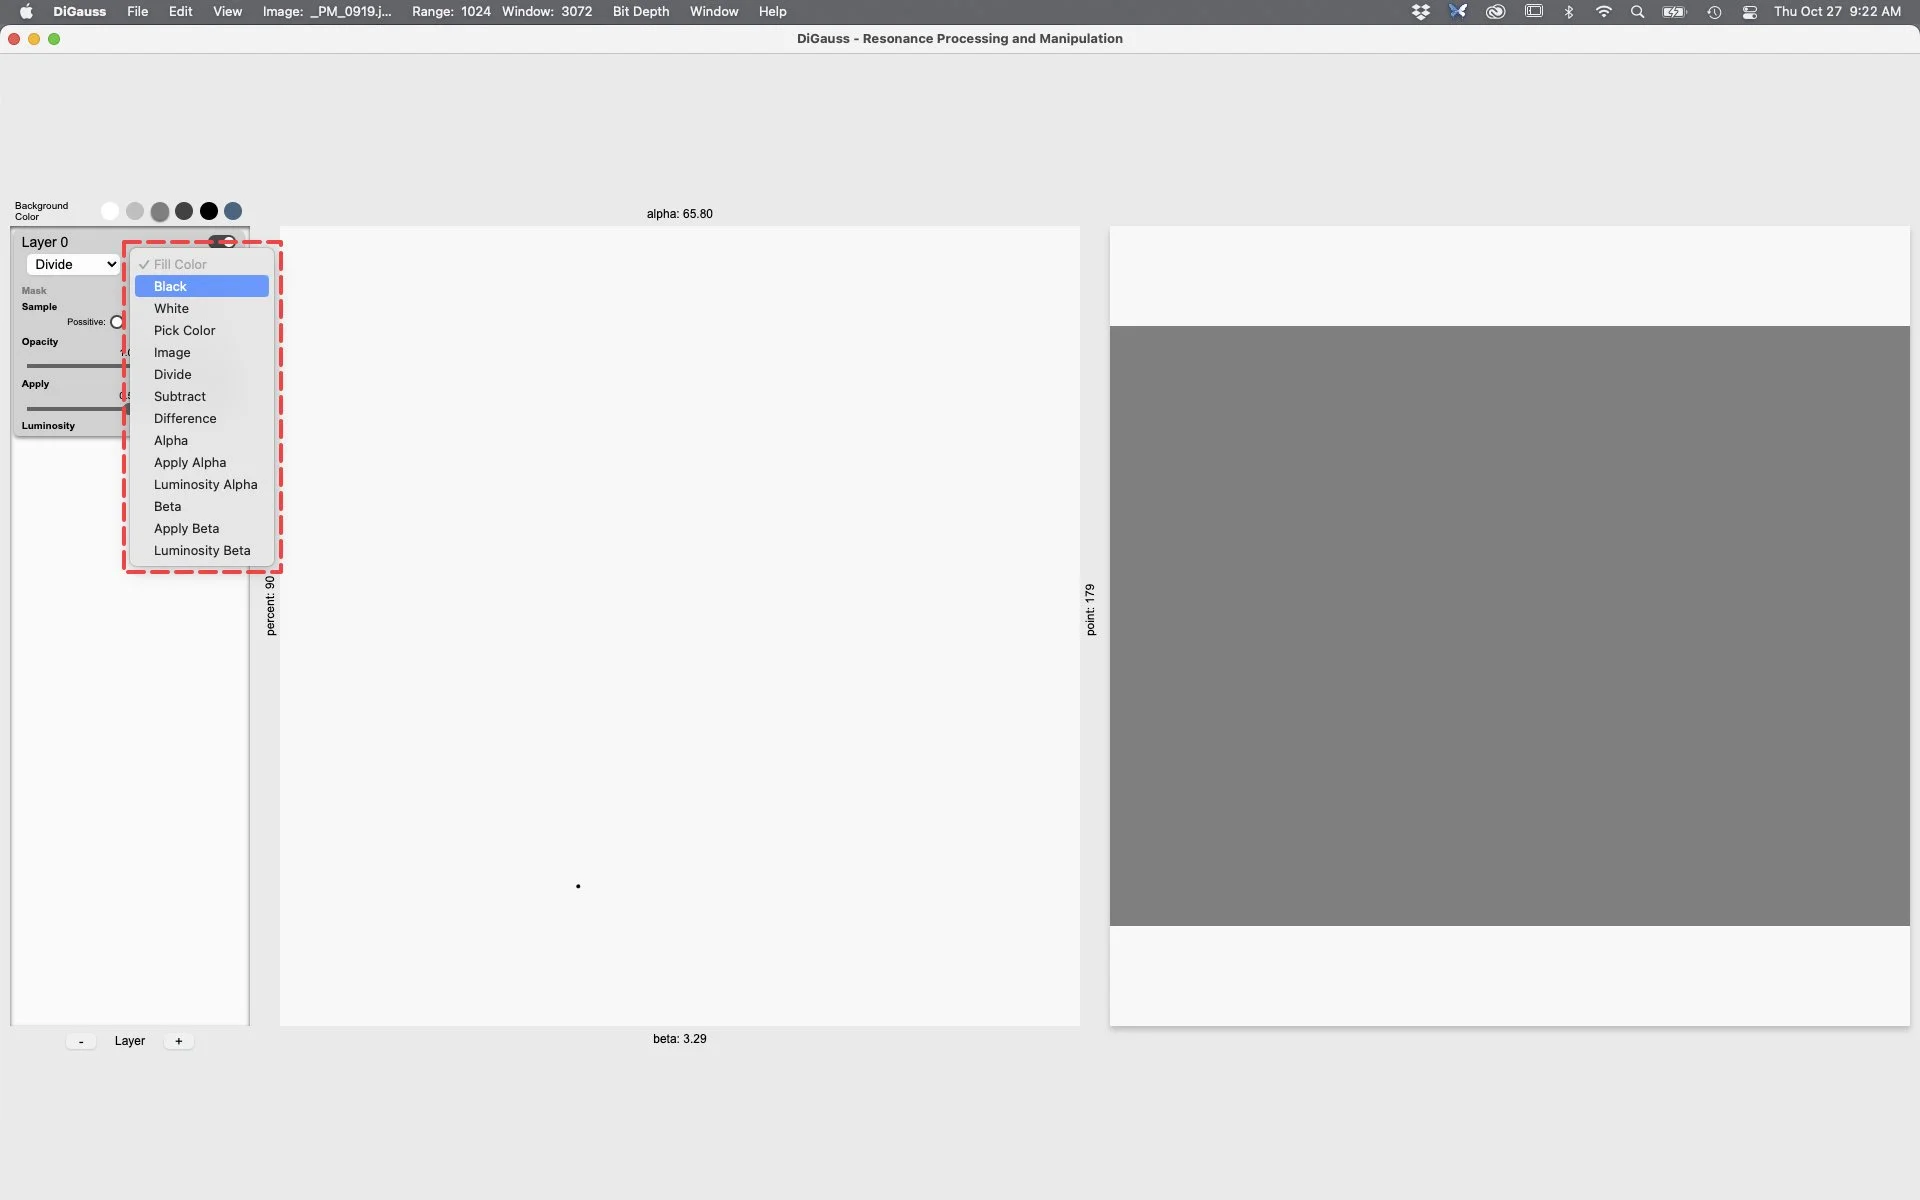
Next Located in the layer panel. Click Layer 0’s > Fill Color dropdown. Choose one of the following. If you are new to the app, it’s best to choose Black or White.
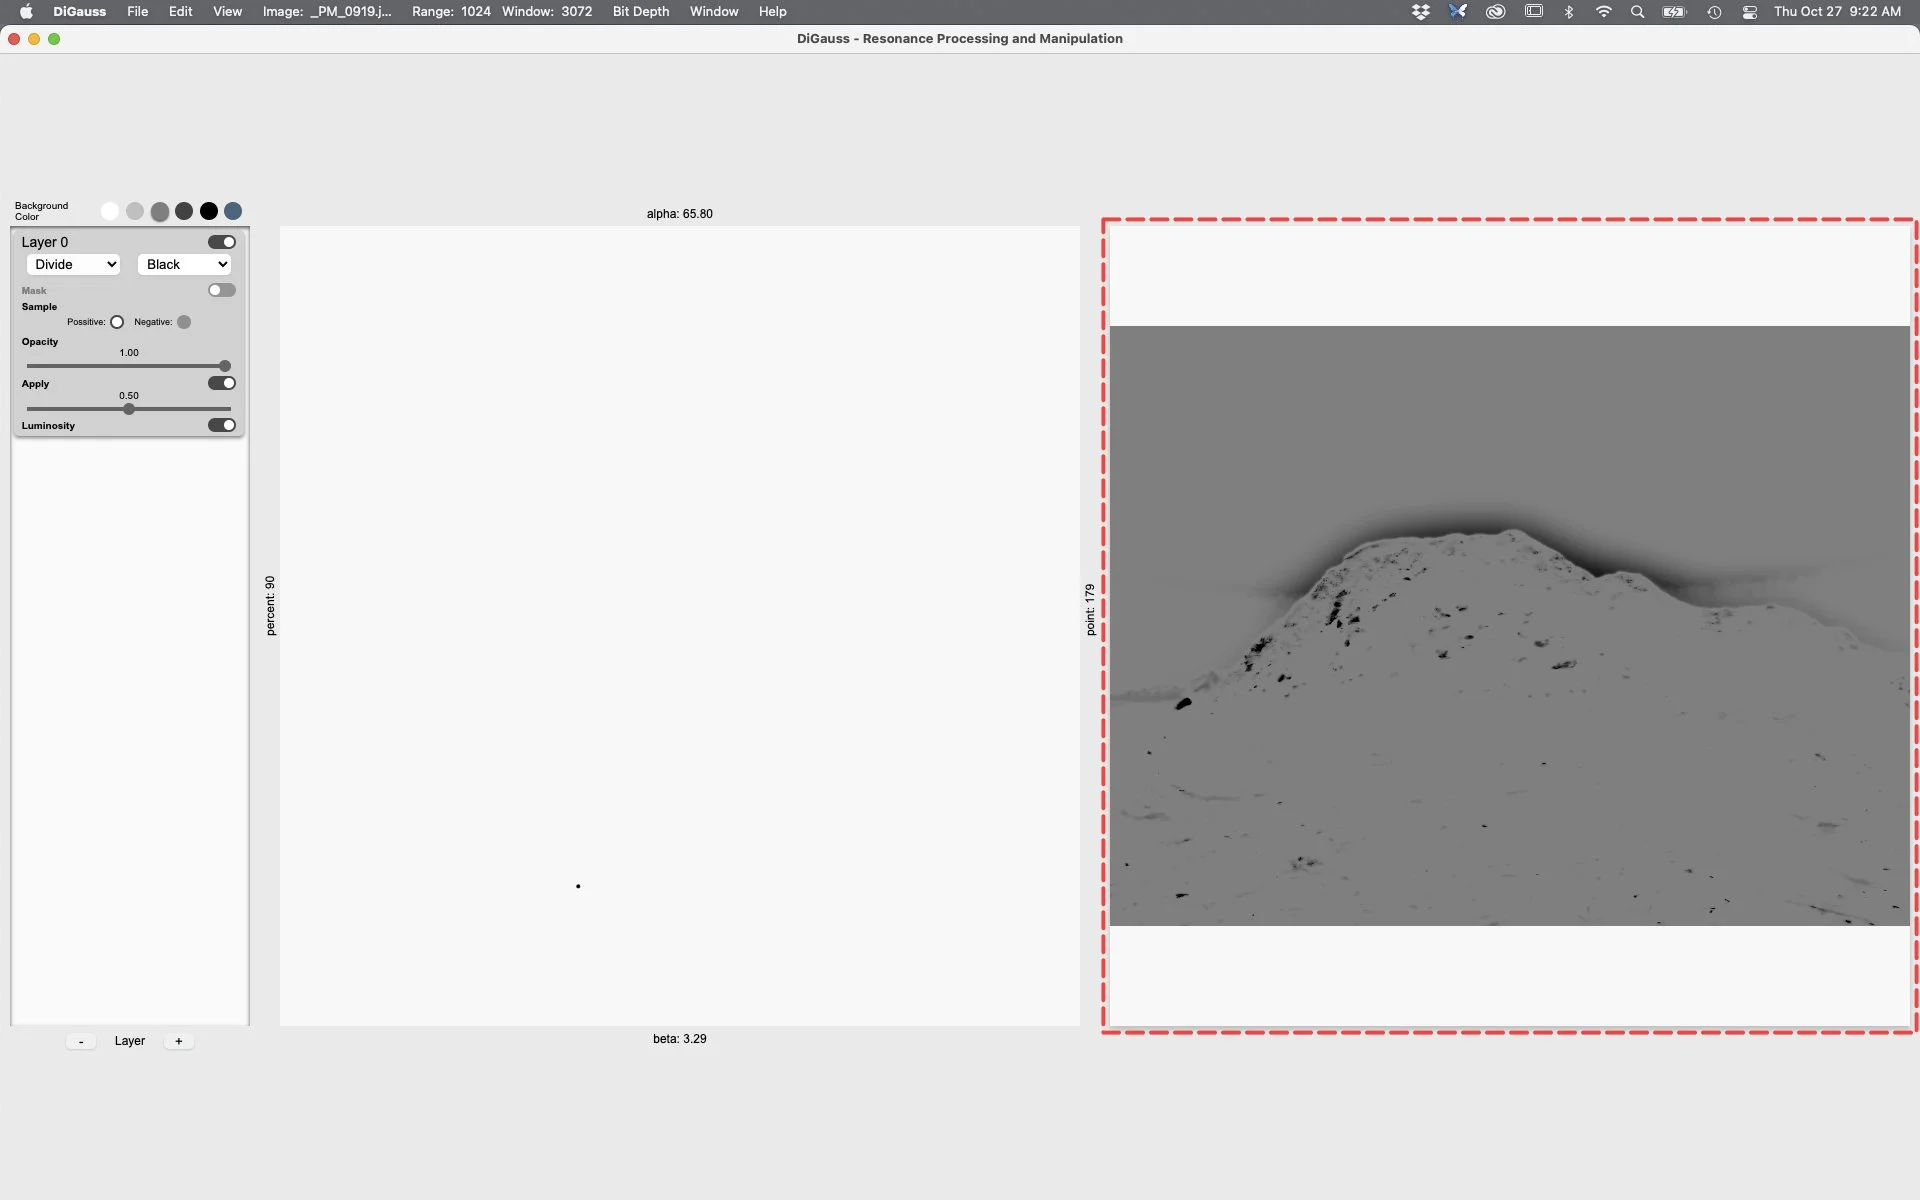
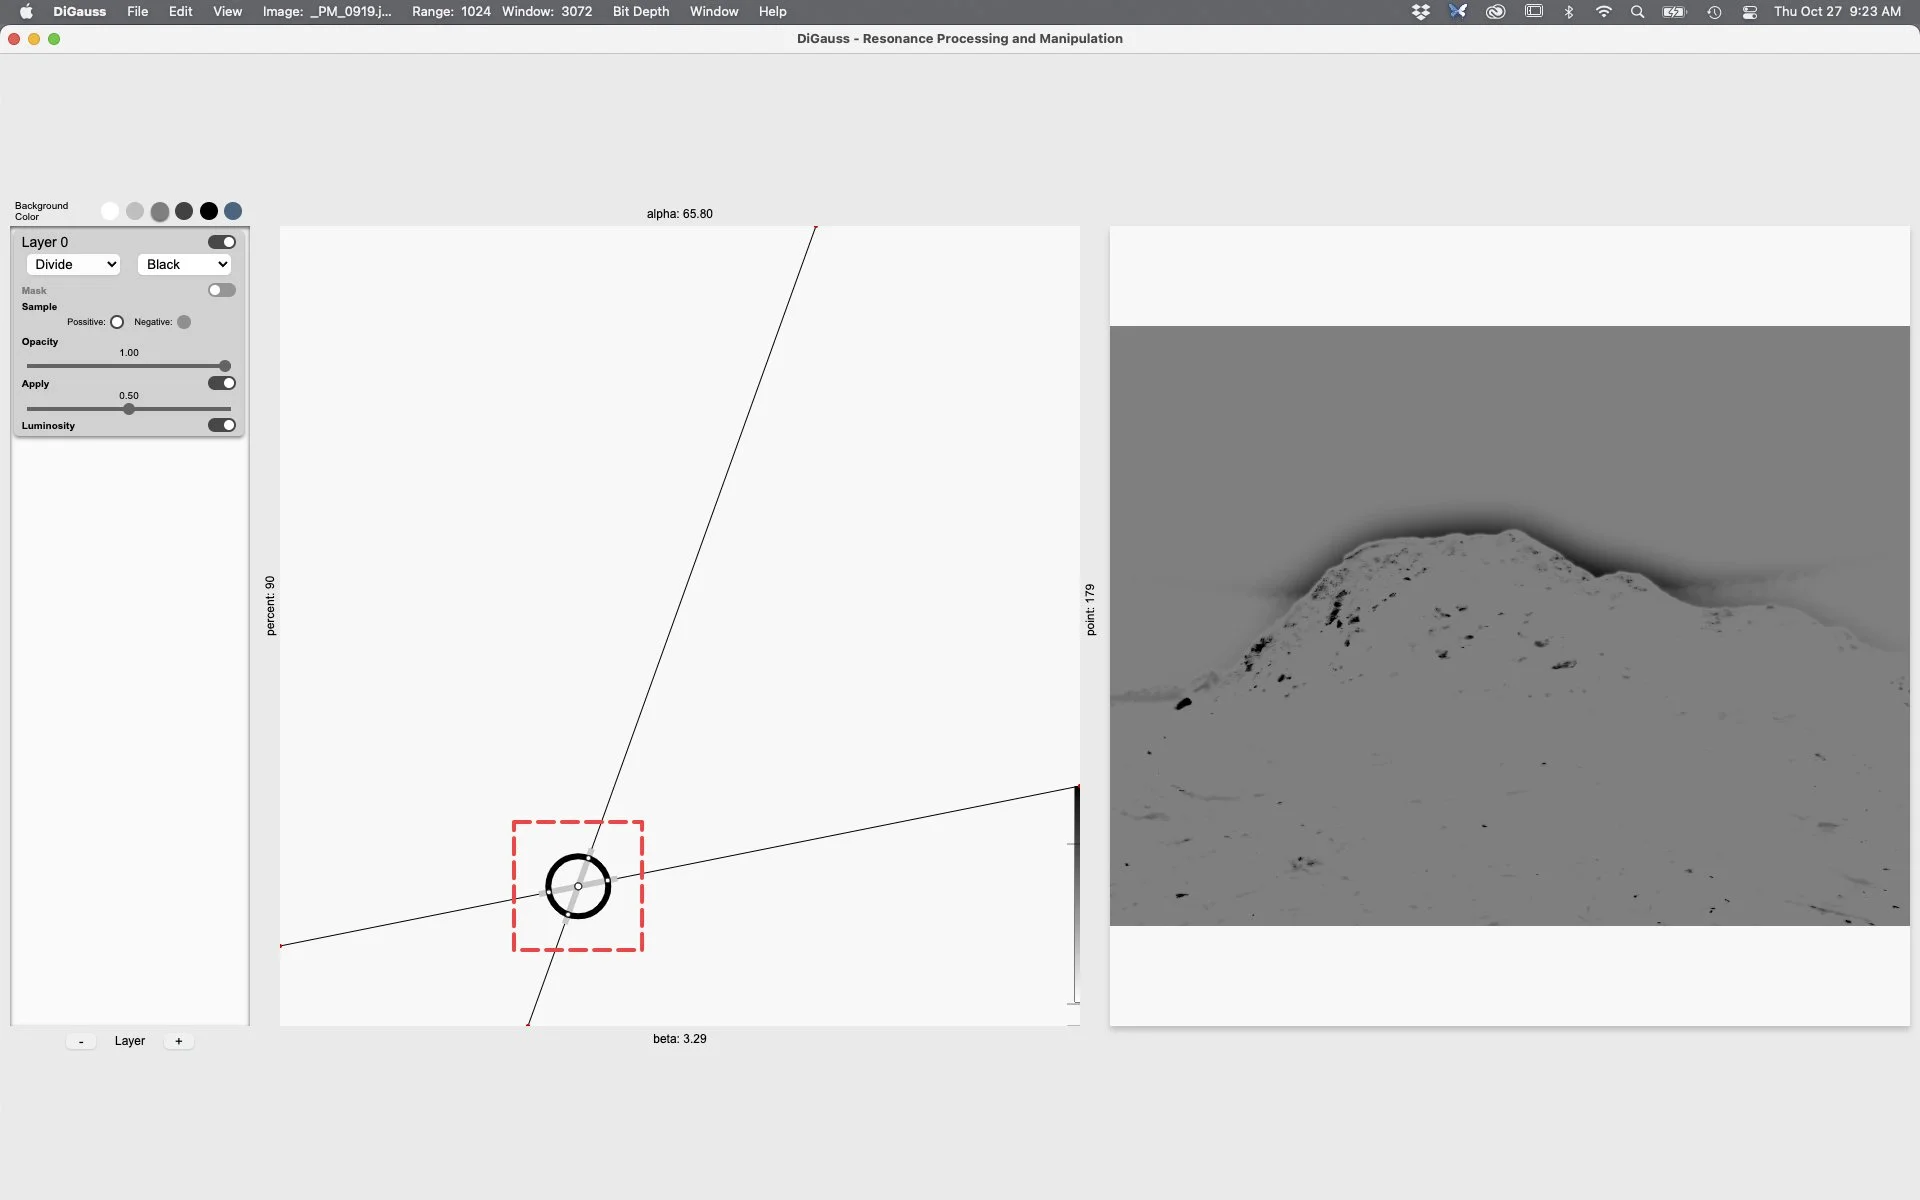
For that layer you should now see an image displayed in the Composition Window located on the far-right side of the app. It should look like the below example, with the exception that you will have a different image. If not, don’t worry. Refer to the next step for problem solving visibility issues.
To make filter adjustments or if you do not see an image after selecting an item from each of the two dropdowns’, try the below.
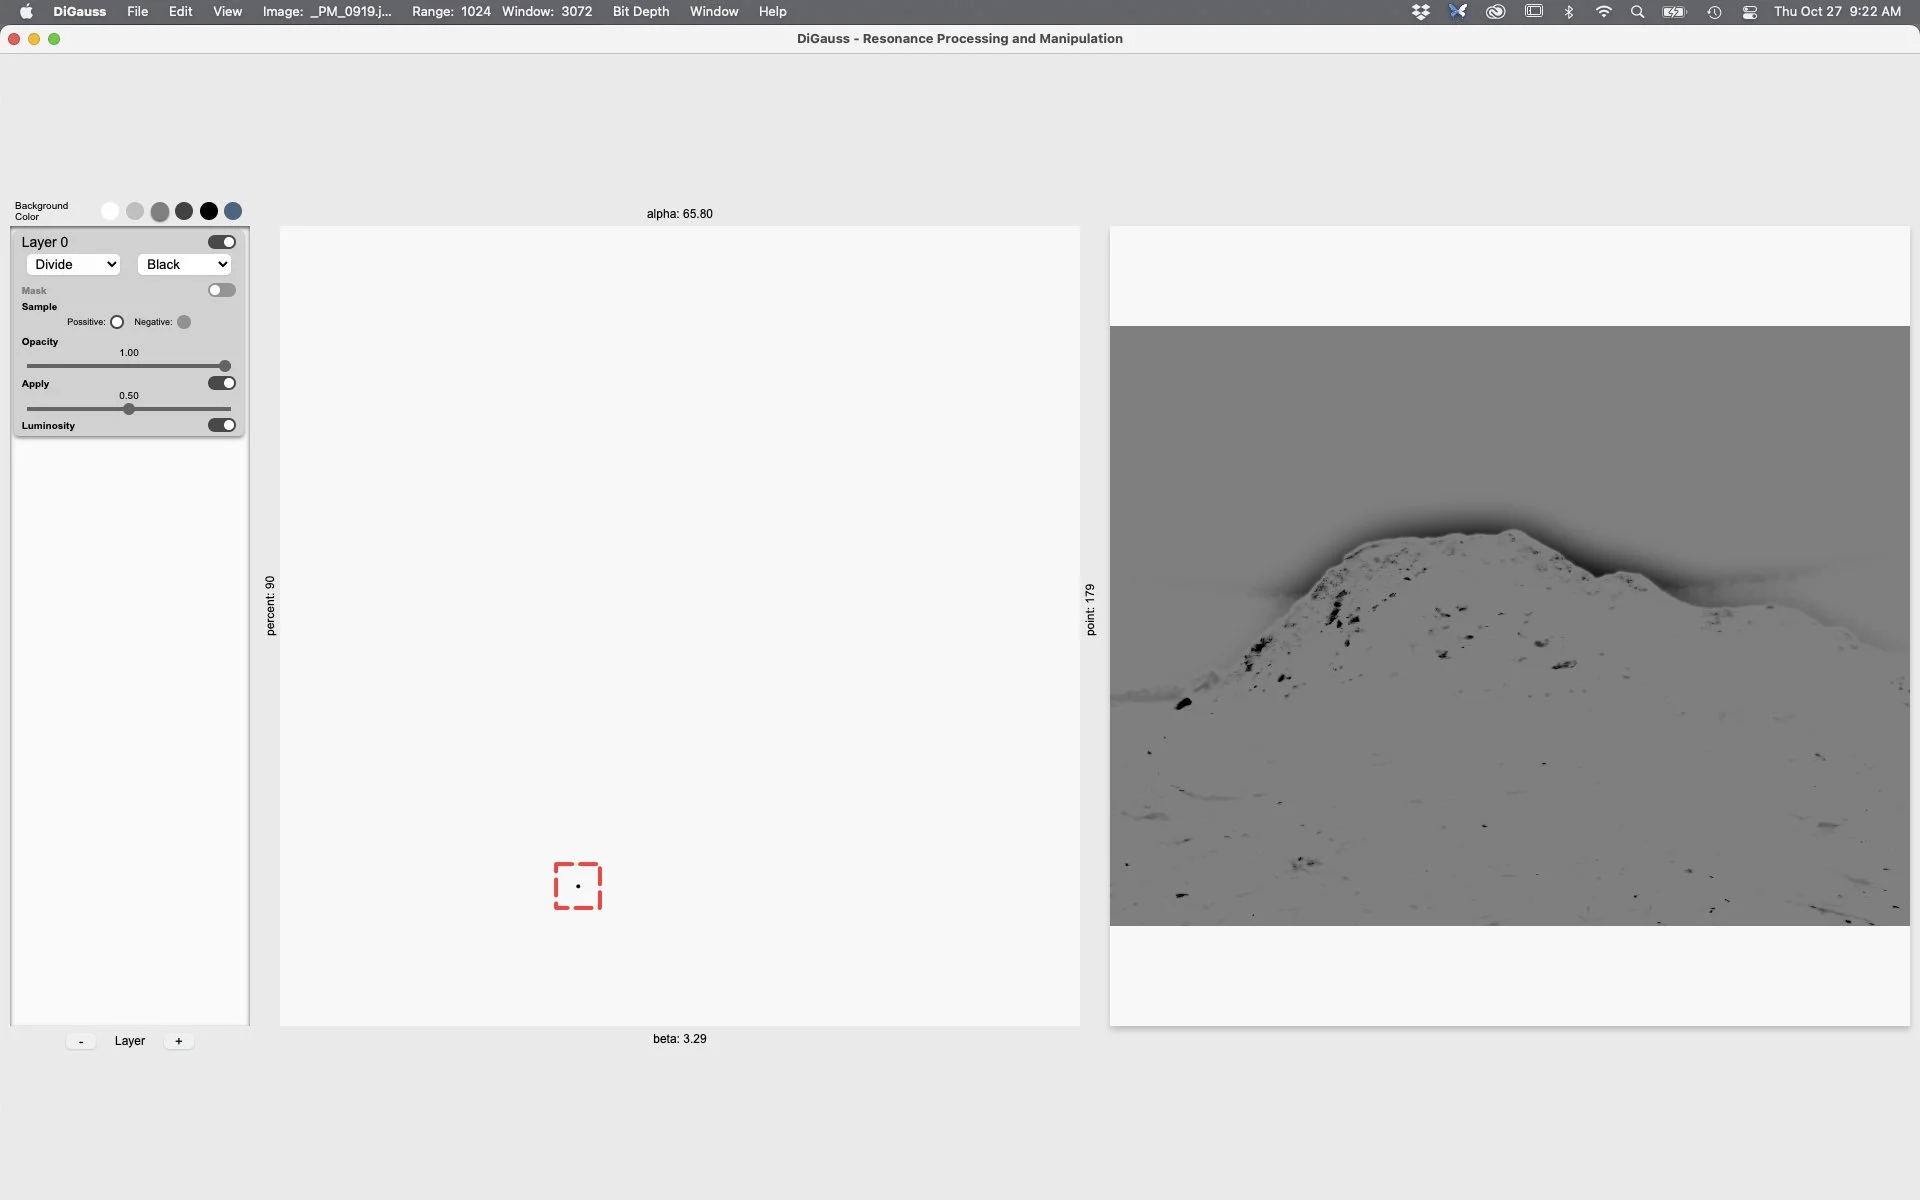
In the center of the app is a big white square called the Frequency Selection Window. Somewhere inside of this window is a black dot. Highlighted with a red square in the image below.
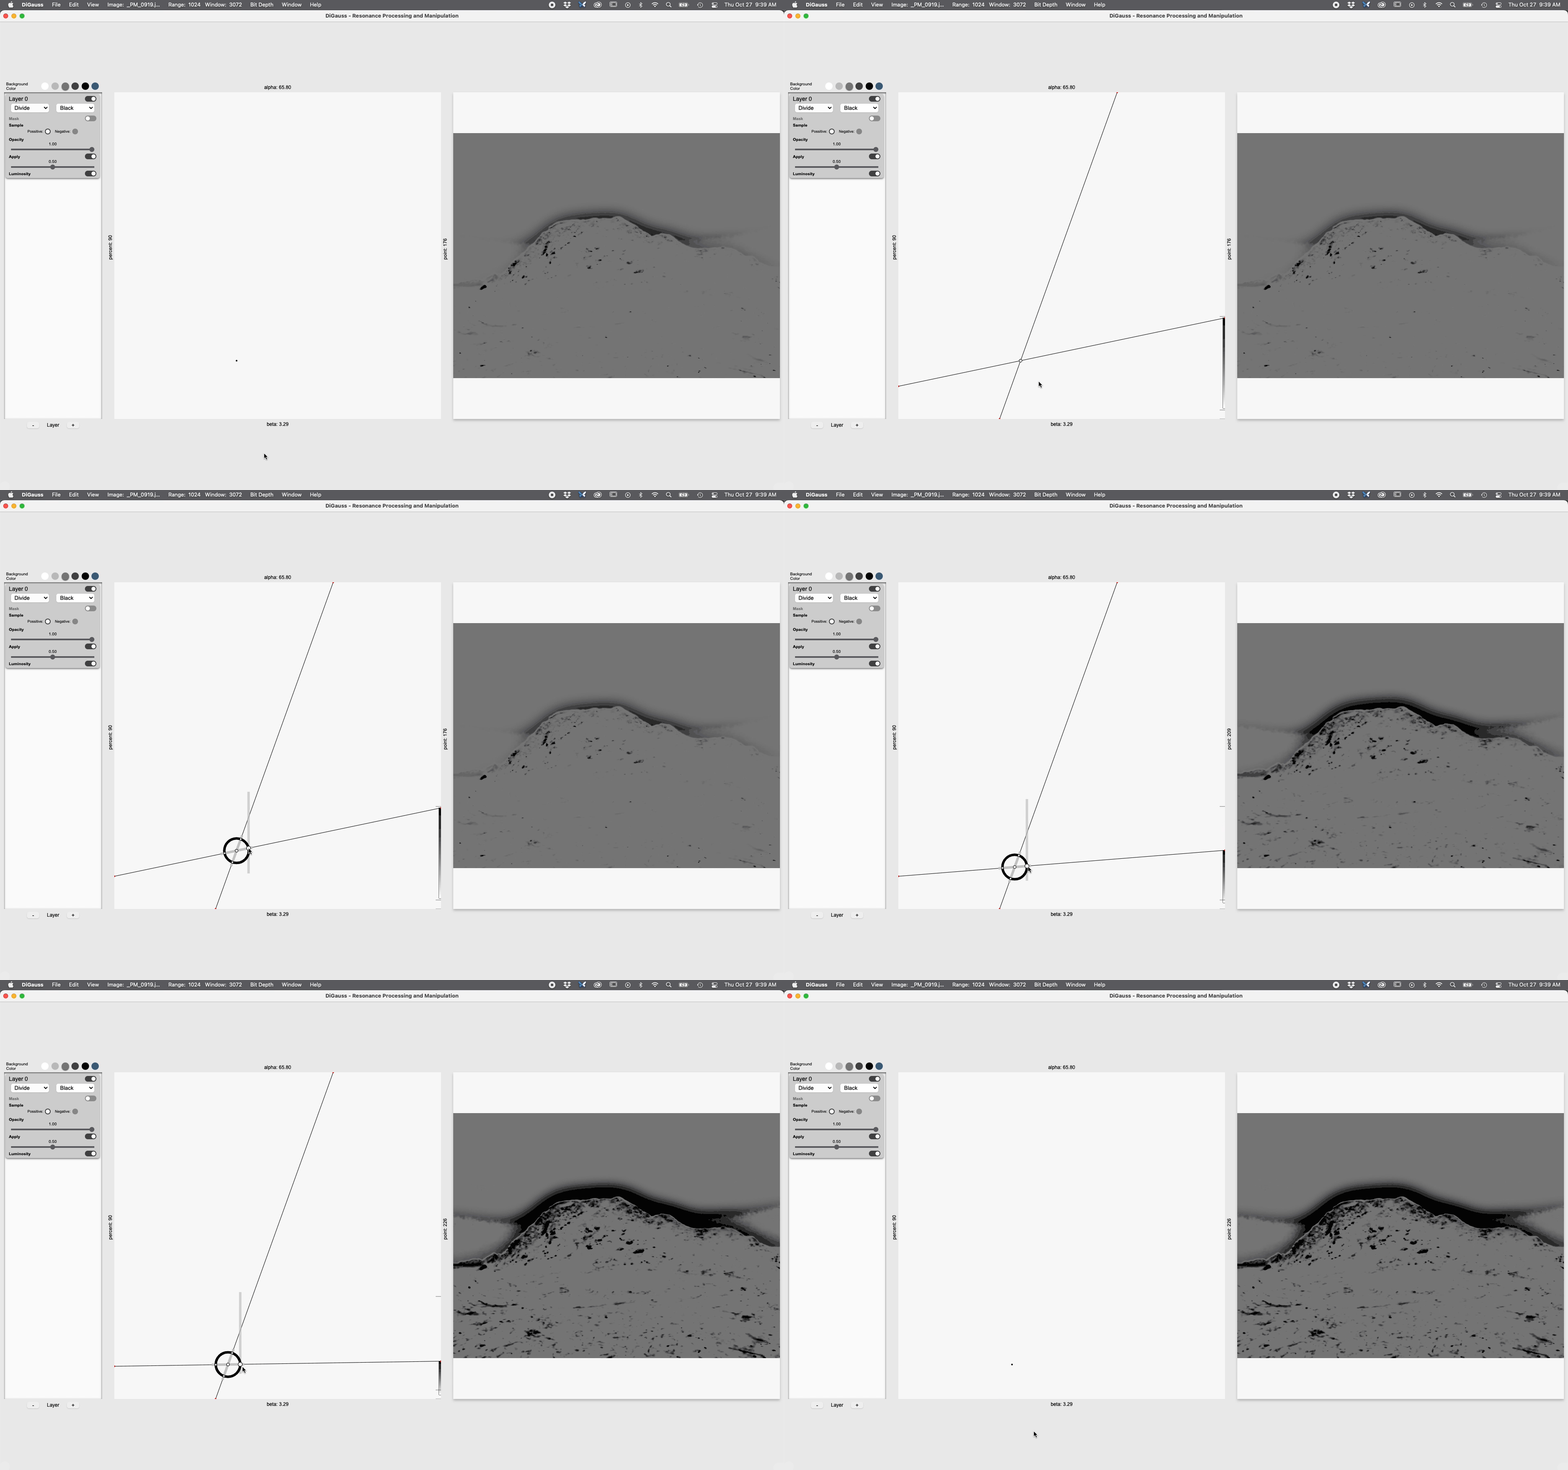
Move the mouse towards the back dot.
As you move the mouse closer to the black dot additional UI elements will reveal themselves.
Click on the tiny white circles and drag them around to make selection adjustments.
If you do not see an image in the apps right most window, the Composition Window. It is best to move the mouse over the Frequency Selection Window as described above and to then move the mouse to the Control Point. Shown below with the red box around it.
Once the mouse is over the Control Point.
Click hold and drag the Control Point up and down. You’ll want to move this line toward the Clipping Guides at the right. They indicate the selectable images darkest, average, and brightest values.
In the below example the user will produce a more distinct result by clicking on the Control Point and dragging it down so that the gradient on the right-side fits within the three Clipping Guides.
